
Patch Testing New Skincare Products: A Practical Step-by-Step

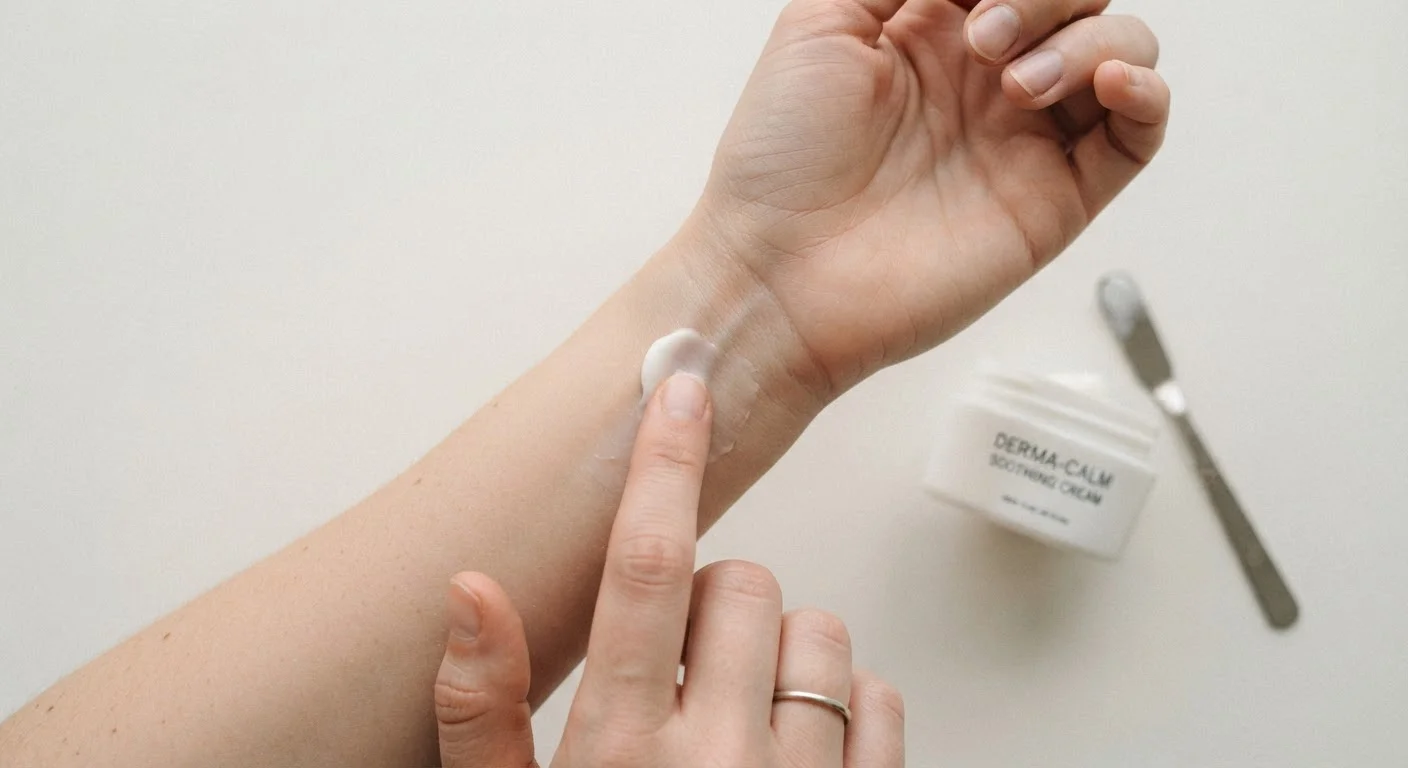
Photo: AskSpecialist.net editorial
Key Takeaways
- Patch testing involves applying a small amount of product to a discreet skin area and monitoring for 24-48 hours.
- The inner arm is the recommended test site - it closely mimics facial skin sensitivity.
- Redness, itching, or swelling during a patch test signals you should not use that product on your face.
- Even "gentle" or "natural" products can cause reactions in some individuals.
- Patch testing is especially important when introducing active ingredients like retinoids, AHAs, or vitamin C.
Why Patch Testing Matters Before You Commit
A new serum or moisturizer looks promising - dermatologist-tested, fragrance-free, clinically formulated. You apply it directly to your face and wake up the next morning to redness, bumps, or tightness. This scenario is entirely avoidable, and patch testing is the reason why.
Patch testing is a simple screening step: you apply a small amount of a product to a low-stakes area of skin, wait, and observe. It won't catch every possible reaction, but it serves as an early warning system that can spare your face from an unnecessary setback. It's particularly valuable when you're introducing products with active ingredients - retinoids, alpha hydroxy acids (AHAs), vitamin C derivatives, or chemical exfoliants - that carry a higher potential for irritation.
People with sensitive or reactive skin benefit most from patch testing, but anyone adding something new to their routine should make it standard practice. Even products marketed as "hypoallergenic" or "natural" can trigger reactions in certain individuals, because skin chemistry is highly personal.
Patch testing also fits neatly into a complete skincare routine - it's one of those foundational steps that rarely gets discussed but pays dividends over time.
Patch Testing Is Not an Allergy Diagnosis
What You'll Need and How to Do It
The process requires minimal supplies and roughly five to ten minutes of active effort, followed by passive observation over two days. Gather your materials, choose a test site, and follow the steps below in order.
What you will need
Cotton swab or clean fingertip
Apply a small, controlled amount of product to the test site without contaminating the rest of the container.
Adhesive bandage
Cover the test site to simulate an occlusive environment, useful for thicker creams or ointments.
Fragrance-free gentle cleanser
Clean the test area before applying the product to remove any interfering residue.
Observation log (phone or notebook)
Record appearance and any sensations at the test site at 30 minutes, 24 hours, and 48 hours.
Choose the right test site
Select the inner forearm - the skin on the inside of your elbow crease or just below it. This area is relatively sensitive, tends to behave similarly to facial skin, and is easy to observe without a mirror. Avoid testing on broken, sunburned, or actively irritated skin, as results will be unreliable and any application may worsen existing damage.
Cleanse the test area
Wash the chosen area with a mild, fragrance-free cleanser and pat it dry. Wait 10-15 minutes before applying the test product so the skin is fully dry and at its baseline state. Avoid applying any other lotions, serums, or oils to that spot beforehand - these can alter how your skin absorbs or reacts to the new product.
Apply a small amount of the product
Using a cotton swab or a clean fingertip, apply a pea-sized amount - roughly a 1-inch diameter circle - of the product to the test site. Use only as much as you would realistically apply in a regular routine. Applying more does not accelerate testing and may cause unnecessary skin stress.
Leave it on and observe at 30 minutes
Do not rinse the product off unless it is a rinse-off formula (such as a cleanser or mask). For leave-on products, check the site at the 30-minute mark. Note any immediate sensations: tingling, burning, stinging, or tightness. Minor transient tingling with certain actives (like vitamin C) can be normal, but sustained burning or visible redness warrants early removal and rinsing.
Monitor for 24 to 48 hours
Check the test site at the 24-hour and 48-hour marks without applying any other products to that spot. Look for redness, raised bumps, hives, flaking, swelling, or persistent itching. Record what you observe each time. Some contact reactions are delayed and won't appear until 24-48 hours have passed - this is why the full monitoring window matters.
Interpret the results and decide
If the site looks the same as the surrounding skin and you experienced no lasting discomfort, the product is likely well-tolerated and you can proceed with cautious use - starting with a low frequency before building up. If you noticed redness, itching, swelling, or breakouts at the test site, set the product aside. You may want to review the ingredient list with a dermatologist, particularly if reactions occur repeatedly across different products.
Keep in mind that passing a patch test does not guarantee a product will be completely problem-free for your face - but it meaningfully reduces your risk. For broader context on how products can affect skin health over time, see signs your skincare routine is doing more harm than good.
Test One Product at a Time
This article provides general skincare education and is not a substitute for professional medical or dermatological advice. If you experience persistent, severe, or recurring skin reactions, consult a board-certified dermatologist.
The content on this site is provided for informational purposes only and should not be considered a substitute for professional advice. While we strive to provide accurate and up-to-date information, we make no guarantees regarding its completeness or accuracy. Always consult a qualified professional for advice specific to your circumstances before making any decisions.