
Drywall Patching: Filling Holes Without Calling a Pro

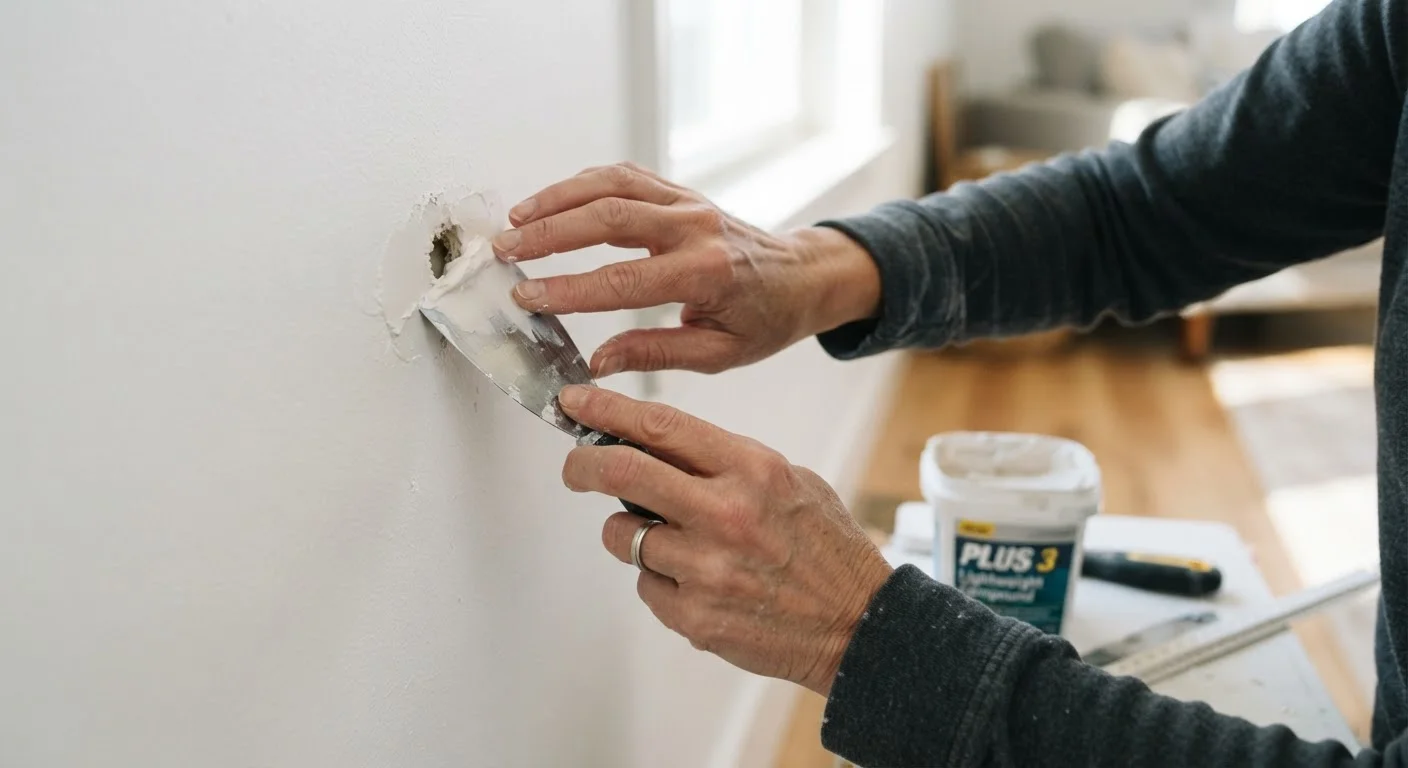
Photo: AskSpecialist.net editorial
Key Takeaways
- The patching method depends on the size and type of the hole.
- Drying time between coats is the most commonly skipped - and most important - step.
- Feathering compound edges is the key to a seamless, invisible finish.
- Most holes up to about 6 inches across can be repaired without professional help.
- Priming the patch before painting prevents a dull spot from showing through.
Choosing the Right Approach for the Hole You Have
Not every wall blemish calls for the same fix. Matching your method to the damage is the first step toward a patch that actually disappears under paint.
- Nail holes and small dents (under ½ inch): A single application of lightweight spackling compound, smoothed flush with your finger or a flexible putty knife, is all you need.
- Medium holes (½ inch to about 4 inches): Self-adhesive mesh patches or aluminum patch plates provide the backing you need before applying joint compound.
- Larger holes (4 to 6 inches): A California patch - where you cut a clean square around the damage and use the drywall's paper facing as a built-in tape - gives a solid repair without requiring wood backing.
Holes larger than about 6 inches typically need a backing board or new drywall panel installed. That work is still DIY-friendly for a confident homeowner, but it moves into more involved territory. For guidance on where reasonable DIY limits fall, see our guide to DIY vs. calling a pro.
What you will need
Tools and Materials You'll Need
Gather everything before you start. Hunting for a second putty knife mid-repair is a reliable way to leave tool marks in drying compound.
Putty knife or drywall knife (4-6 inch)
Applies and smooths joint compound over the patch area.
Lightweight joint compound (also called mud)
Fills and skins over the patch to create a smooth, paintable surface.
Self-adhesive mesh patch or aluminum patch plate
Provides structural backing for holes between ½ inch and 4 inches.
Fine-grit sanding sponge or sandpaper (120-150 grit)
Smooths dried compound between coats and before priming.
Drywall primer or PVA primer
Seals the porous compound so finish paint applies evenly.
Utility knife
Scores and cuts drywall cleanly when making a California patch.
Dust mask and safety glasses
Protects against fine drywall and sanding dust during the repair.
Step-by-Step: Patching the Hole
Follow these steps in order. The most important rule is simple: never rush the drying stages.
Clean and prep the damaged area
Remove any loose paper facing, crumbled gypsum, or protruding fasteners around the hole. Use a utility knife to trim back torn paper so the edges are clean and lying flat against the wall. Wipe away dust with a dry cloth. For nail holes, press the dimple slightly inward with a putty knife handle so there's a small depression to fill rather than a protrusion.
Apply the backing (medium and large holes only)
For holes between ½ inch and 4 inches, center a self-adhesive mesh patch over the hole and press it firmly to the wall. For aluminum patch plates, fold back the metal tabs through the hole and bend them flat against the inside of the wall to hold the plate in place. The patch surface should sit flush with or very slightly below the surrounding wall.
Apply the first coat of joint compound
Load your putty knife with a modest amount of lightweight joint compound. Spread it over the patch with firm, even strokes, pressing it into the mesh or against the patch edges. Feather the edges outward - meaning you gradually thin the compound as you move away from the hole, blending it into the surrounding wall over a 6-8 inch radius. Scrape off excess and aim for as smooth a surface as you can manage at this stage. It won't be perfect, and that's fine.
Let it dry completely, then sand
Allow the first coat to dry fully. Joint compound changes color from dark gray-beige to a uniform bright white when it's ready - this typically takes 4-8 hours depending on temperature and humidity, though some products and thicker applications need 24 hours. Once dry, sand lightly with a 120-150 grit sanding sponge using circular motions. The goal is to knock down ridges and high spots, not remove the compound entirely. Wipe away dust with a dry cloth before the next coat.
Apply a second (and if needed, third) coat
Apply a second, thinner coat of compound, again feathering the edges outward slightly beyond your first coat. This coat fills the small imperfections left after sanding. Let it dry and sand again. For most patches, two coats produce a surface ready for primer. Larger patches or mesh repairs may need a third skim coat - a very thin, almost translucent layer applied with a wider knife - to fully flatten the surface.
Prime and paint
Once the final coat is dry and sanded smooth, apply drywall primer to the repaired area and allow it to dry per the product label. Then paint to match the surrounding wall. Check your work under raking light before calling it done - a single bare bulb held at an angle close to the wall will reveal any remaining texture differences while you still have time to address them.
Getting a Finish That Disappears Under Paint
A smooth patch and a visible patch are often separated by just one step: priming. Joint compound is porous, and if you paint directly over it, the patch absorbs paint differently from the surrounding wall - leaving a flat, dull circle even after several coats of finish paint. Apply a coat of drywall primer or a PVA primer sealer to the repaired area before painting, and let it dry fully.
When you paint, feather your brush or roller strokes outward from the patch to blend the sheen. If the surrounding wall has texture - orange peel, knockdown, or skip-trowel - practice matching it on a piece of scrap drywall before attempting it on the wall. Light from a bare bulb held at a raking angle is the quickest way to reveal any ridges or low spots before you commit to paint.
Use Raking Light to Catch Imperfections Early
The content on this site is provided for informational purposes only and should not be considered a substitute for professional advice. While we strive to provide accurate and up-to-date information, we make no guarantees regarding its completeness or accuracy. Always consult a qualified professional for advice specific to your circumstances before making any decisions.