
Bathroom Remodel Checklist: From Demolition Day to Final Walkthrough

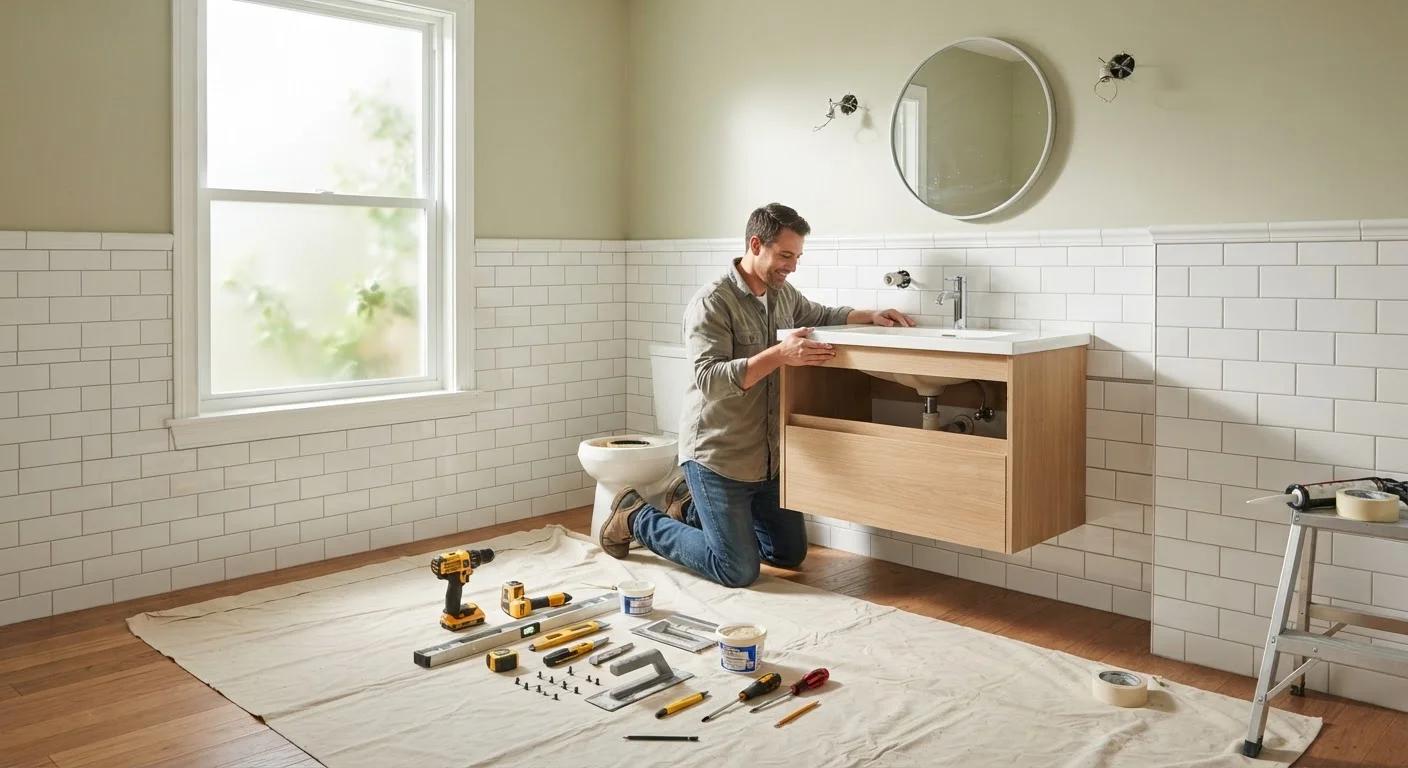
Photo: AskSpecialist.net editorial
Key Takeaways
- Permits are often required for plumbing, electrical, and structural changes - always check local codes first.
- Work follows a strict sequence: demolition, rough-in trades, waterproofing, tile, fixtures, and finish work.
- Waterproofing the shower and tub surround is one of the most critical steps and must not be skipped.
- Final inspections should happen before any walls are closed up and again at project completion.
- Budget a 10-20% contingency to absorb unexpected costs uncovered during demolition.
Why a Structured Checklist Changes Everything
A bathroom remodel is one of the most trade-intensive projects a homeowner can undertake. Plumbing, electrical, waterproofing, tile, and finish carpentry must happen in the right order - and each phase depends on the one before it being done correctly. Skipping or rushing a step doesn't save time; it creates expensive problems that surface months later behind finished walls.
This checklist is organized by project phase, so you can use it to plan, monitor progress, and verify quality at each stage. Whether you're managing a contractor or coordinating multiple tradespeople, having a written reference keeps everyone accountable and helps you catch issues before they become costly corrections.
If this is your first renovation project, it's worth reading our beginner's guide to home renovation before diving in. And if you're juggling daily life during the project, see our advice on managing a remodel while living in the house.
Tile wet saw
Cuts ceramic, porcelain, and stone tile cleanly to fit around fixtures and in corners.
Notched trowel
Spreads thin-set mortar at the correct depth and coverage for tile installation.
Level (4-foot)
Ensures tile courses, vanity, and fixtures are plumb and level throughout installation.
Moisture meter
Checks subfloor and wall framing for hidden moisture or rot uncovered during demolition.
Caulking gun
Applies silicone caulk at inside corners, tub-tile transitions, and fixture perimeters.
Shop vacuum
Clears tile dust, debris, and water from the work area throughout the project.
Grout float
Presses grout into tile joints evenly and removes excess from the tile surface.
Pipe wrench and adjustable pliers
Disconnects and reconnects supply lines and drain assemblies during fixture installation.
How to Use This Checklist
Work through each group in sequence - phases are ordered the way a real project unfolds. Items marked must are non-negotiable for safety, code compliance, or structural integrity. Items marked should represent strongly recommended best practices. Nice-to-have items are worth doing when time and budget allow.
Print or bookmark this page and check off items as each trade completes their work. For work involving licensed professionals, don't mark an item complete until you've visually confirmed the result or received an inspection sign-off in writing.
Waterproofing Failures Are the #1 Source of Bathroom Damage
Before hiring anyone, review our guide to hiring and vetting a general contractor - the quality of your remodel depends heavily on the people you bring on.
Planning & Permits
Preparation & Demolition
Rough-In: Plumbing & Electrical
Waterproofing & Backer Board
Tile, Flooring & Finishes
Fixture & Vanity Installation
Final Walkthrough & Punch List
After the Remodel: Staying on Top of Maintenance
Once your new bathroom passes its final inspection, a little ongoing maintenance goes a long way. Re-caulk inside corners and tub edges annually - caulk naturally shrinks and cracks over time, and a compromised bead is the first entry point for moisture damage. Reseal grout joints every one to two years in high-use showers.
Run the exhaust fan during every shower and for at least 15 minutes afterward to control humidity. Sustained moisture in a bathroom - even a beautifully tiled one - is the leading cause of mold growth and premature material degradation.
A completed bathroom remodel is also a good trigger to schedule a broader property check. Our annual home inspection checklist walks you through a full audit of your home's systems and surfaces so nothing gets overlooked year to year.
This article is for general informational and educational purposes. Local building codes, permit requirements, and trade licensing rules vary by jurisdiction. Always verify requirements with your local building department and consult licensed professionals for plumbing, electrical, and structural work.
The content on this site is provided for informational purposes only and should not be considered a substitute for professional advice. While we strive to provide accurate and up-to-date information, we make no guarantees regarding its completeness or accuracy. Always consult a qualified professional for advice specific to your circumstances before making any decisions.