
Painting Interior Walls: Getting a Clean, Lasting Result

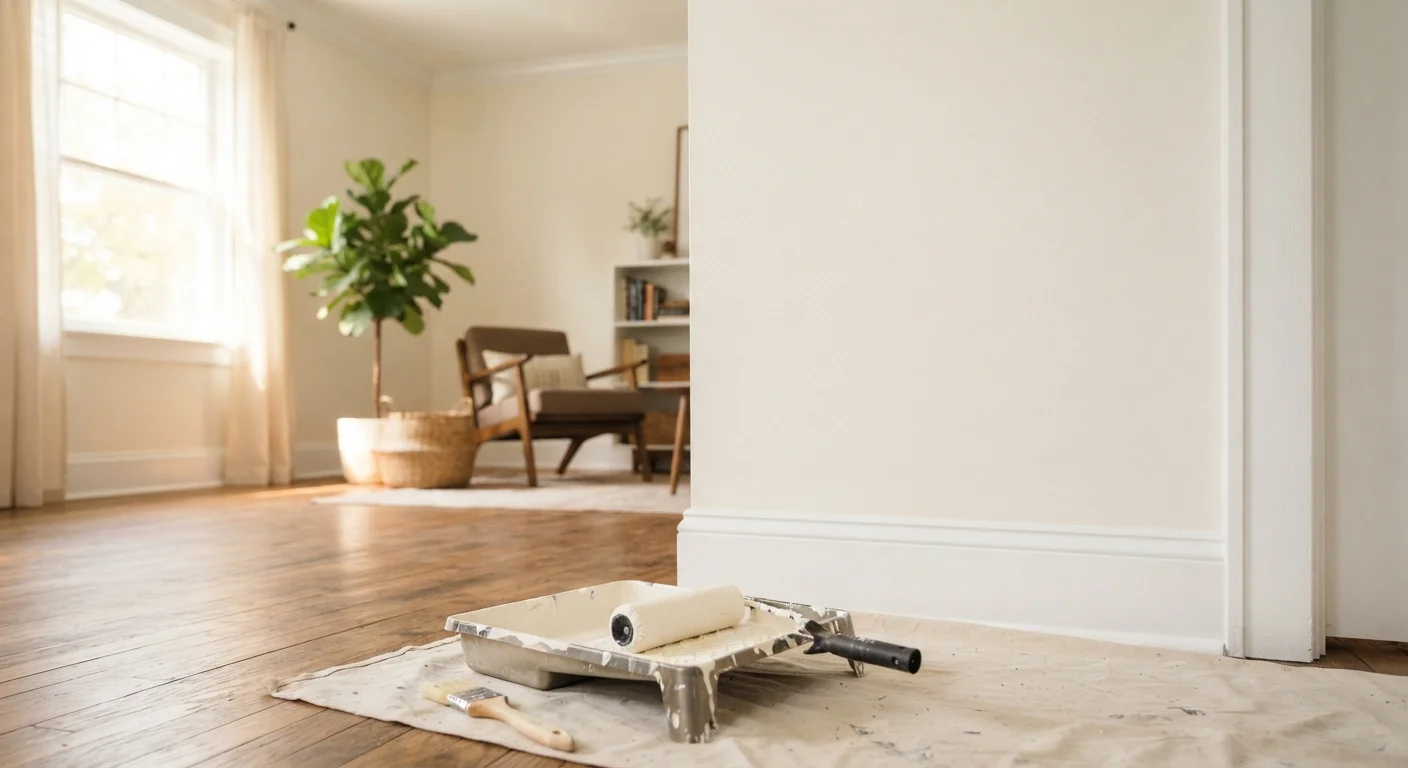
Photo: AskSpecialist.net editorial
Key Takeaways
- Surface preparation - cleaning, patching, and priming - determines whether paint adheres and lasts.
- Cutting in edges before rolling prevents lap marks and produces clean, professional-looking lines.
- Two thin coats always outperform one heavy coat for durability and even coverage.
- Choosing the right sheen for each room affects appearance and long-term cleanability.
- Allowing adequate dry time between coats prevents peeling and uneven texture.
Why Prep Work Is the Real Job
Most paint failures - peeling, bubbling, uneven sheen - trace back to skipped preparation steps rather than bad paint or poor rolling technique. Before you open a single can, the wall surface needs to be clean, stable, and smooth enough to accept a new finish. If you're new to home improvement projects, the beginner's renovation overview is a useful starting point for understanding how painting fits into a broader project sequence.
Start by washing walls with a mild solution of dish soap and warm water, working top to bottom. This removes grease, dust, and any residue that would prevent adhesion. In kitchens and bathrooms, a degreaser may be necessary near cooking surfaces or fixture areas. Let the surface dry completely - typically at least a few hours - before moving on.
Next, inspect every surface carefully. Fill nail holes, dents, and minor cracks with lightweight spackle, feathering the edges with a putty knife so there's no raised ridge. For larger holes or damaged sections, see our guide to drywall patching before proceeding. Once filler is dry, sand it smooth with 120-grit sandpaper, then wipe away dust with a damp cloth or tack cloth.
What you will need
Choosing Paint and Protecting Your Space
Paint sheen affects both aesthetics and function. Flat or matte finishes hide surface imperfections well and work in low-traffic areas like bedrooms. Eggshell and satin hold up better to cleaning, making them practical choices for living rooms, hallways, and children's rooms. Semi-gloss is typically used on trim, doors, and in kitchens or bathrooms where moisture resistance matters.
Priming is not optional when painting over a dark color, working with new drywall, covering a stain, or switching between paint types. A good primer seals the surface, promotes adhesion, and can significantly reduce the number of finish coats needed. Tinted primers - mixed to approximate your finish color - are especially effective when making a large color shift.
Angled trim brush (2-2.5 inch)
Used for cutting in along edges, corners, and trim where a roller cannot reach.
9-inch paint roller with appropriate nap
Applies paint efficiently and evenly across large wall surfaces.
Roller extension pole
Allows you to reach ceiling-height walls without a ladder on every pass.
Paint tray with liner
Holds and evenly loads paint onto the roller; liners simplify cleanup.
Painter's tape (low-tack)
Protects trim, baseboards, and ceiling lines from paint bleed-through.
Drop cloths
Protects floors and furniture from drips and spills during painting.
Putty knife and lightweight spackle
Fills and smooths nail holes, dents, and minor surface damage before painting.
Tack cloth or damp rag
Removes sanding dust from surfaces before primer or paint is applied.
Before opening any paint, protect your space methodically. Remove outlet covers and switch plates. Apply painter's tape along baseboards, window casings, and door trim - pressing the tape edge firmly with a putty knife to prevent bleeding. Lay drop cloths across the entire floor, including a few feet out from the wall. Move furniture to the center of the room and cover it.
Painting Sequence: Cut In First, Then Roll
A consistent sequence eliminates the most common source of visible lap marks. Always cut in before you roll. Cutting in means using an angled brush to paint a 2-3 inch band along all edges: ceiling line, corners, baseboards, and trim. Load the brush by dipping only the bottom third of the bristles, then tap - don't wipe - against the can rim to remove excess. Work in smooth, confident strokes.
Prime the patched and cleaned surface
Apply primer with a brush along edges and a roller on flat areas, using the same cut-in-first technique you'll use for the finish coat. Allow primer to dry completely - typically one to two hours for latex primer - before sanding any raised grain lightly with 220-grit sandpaper and wiping clean.
Cut in all edges with an angled brush
Working from the top of the room downward, paint a 2-3 inch band along the ceiling line, into all corners, and along baseboards and trim. Keep a damp cloth nearby to wipe any immediate mistakes. Complete the entire room's edges before picking up the roller.
Load and apply the roller in sections
Roll the roller through the paint tray until evenly coated - no dripping, no dry patches. Starting about a foot from the cut-in edge, apply paint in a W or M pattern across a roughly 3-by-3-foot section, then smooth with vertical strokes. Overlap slightly into adjacent wet sections to maintain a wet edge.
Allow full drying time, then apply the second coat
Follow the paint manufacturer's recoat window - typically two to four hours for latex paint under normal conditions. Do not rush this step. Once dry, lightly inspect the surface for any missed spots or uneven areas before beginning the second coat, following the same cut-in-then-roll sequence.
Remove tape and touch up while paint is slightly tacky
Pull painter's tape at a 45-degree angle while the final coat is still slightly soft. Use a small brush to correct any bleed-through immediately, feathering the edges so the touch-up blends into the surrounding finish rather than sitting on top of it.
When rolling, maintain a wet edge by working in manageable sections - typically 3-by-3-foot areas - and blending each section into the previous one before the paint dries. Use a W or M pattern to distribute paint, then smooth it with vertical strokes without lifting the roller. Avoid pressing too hard, which creates ridges, or too light, which leaves gaps.
Allow the first coat to dry fully according to the paint manufacturer's guidance before applying the second. Two full coats are standard for most projects; skipping the second coat reduces durability and often leaves uneven coverage that shows under raking light.
Cleanup and Final Inspection
Remove painter's tape while the final coat is still slightly tacky - not fully cured. Pull at a 45-degree angle, slow and steady, to get a clean line without lifting paint. If any bleed-through occurred under the tape, touch it up immediately with a small brush while the paint is still workable.
Clean brushes and rollers promptly. For latex paint, warm water and soap are sufficient; rinse until the water runs clear. Store brushes hanging or bristle-side up, never resting on the bristles. Clean rollers can be wrapped tightly in plastic for short-term reuse.
Once the room is fully dry, replace outlet covers and switch plates, reposition furniture, and inspect the walls under different lighting conditions - natural and artificial. Raking light (light from a low angle) will reveal any texture inconsistencies, roller marks, or missed spots. Touch these up sparingly with a brush, feathering the edges to blend. If you're planning to continue renovating beyond this room, our article on finishing a basement walks through the next layer of complexity when walls go up in new spaces.
The content on this site is provided for informational purposes only and should not be considered a substitute for professional advice. While we strive to provide accurate and up-to-date information, we make no guarantees regarding its completeness or accuracy. Always consult a qualified professional for advice specific to your circumstances before making any decisions.