
Caulking and Weatherstripping: The Low-Cost Fixes That Prevent Big Energy Bills

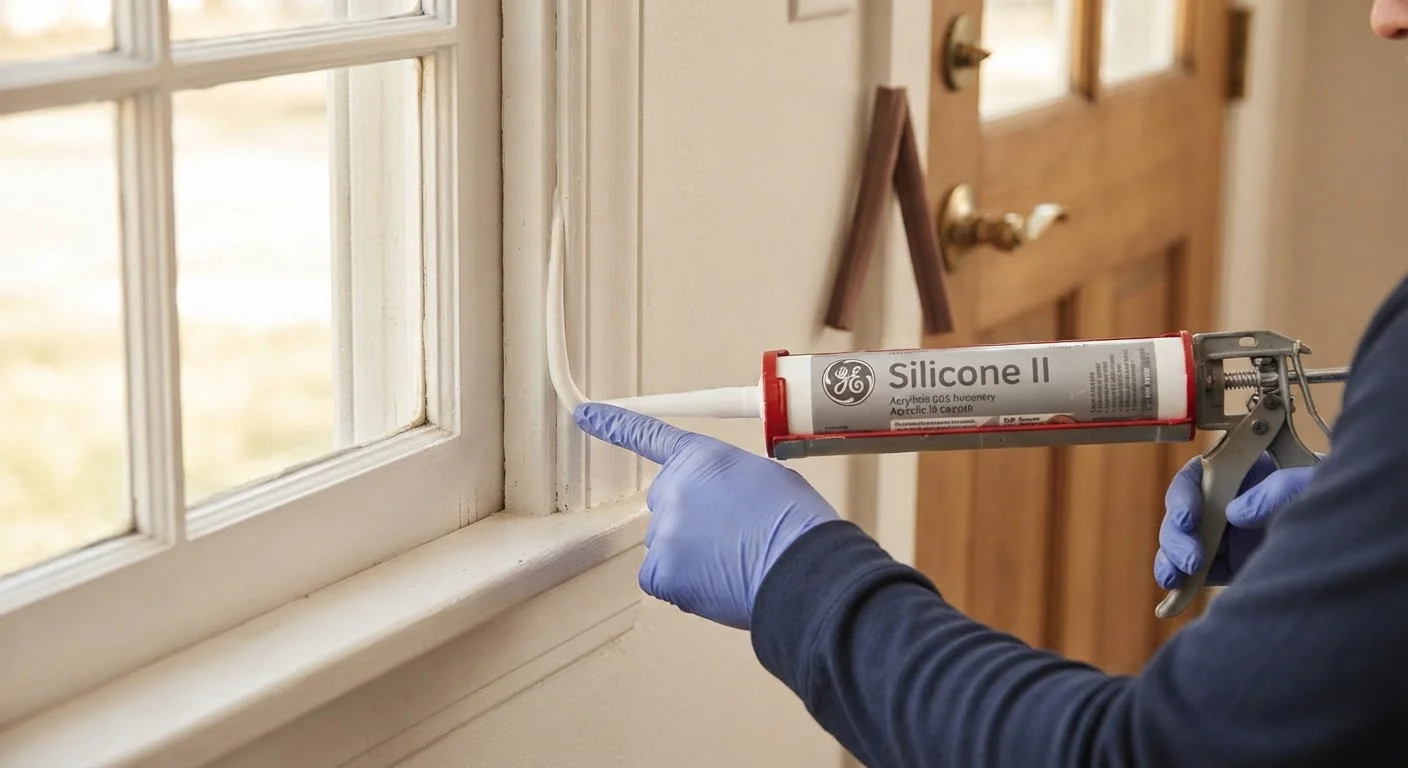
Photo: AskSpecialist.net editorial
Key Takeaways
- Air leaks around windows and doors can significantly increase heating and cooling costs year-round.
- Caulk seals stationary gaps; weatherstripping seals moving joints like door frames and operable windows.
- Signs of failing seals include drafts, condensation, peeling caulk, and daylight visible around frames.
- Most homeowners can complete a full door or window seal in under two hours with basic tools.
- Reapply caulk every five to ten years and inspect weatherstripping annually for compression or tearing.
Why Air Sealing Belongs in Every Maintenance Routine
Most homeowners focus on big-ticket efficiency upgrades - new HVAC systems, replacement windows, added insulation - while overlooking the small gaps that quietly drain energy every day. Cracks and gaps around windows, doors, and their frames allow conditioned air to escape and outside air to infiltrate, forcing your heating or cooling system to work harder than necessary. The U.S. Department of Energy estimates that air leaks can account for a significant portion of a home's heating and cooling losses, making sealing one of the most cost-effective maintenance tasks available.
Caulking and weatherstripping are the two primary tools for this job, and they serve distinct purposes. Caulk is a flexible sealant applied to stationary joints - the seam between a window frame and exterior siding, for example, or where door trim meets a wall. Weatherstripping is a compressible material applied to moving joints, particularly the edges of doors and operable windows, where surfaces must come together and separate repeatedly. Using the right product in the right location is what makes the repair last.
This type of maintenance fits naturally into a broader seasonal upkeep plan. Our year-round maintenance calendar recommends inspecting caulk and weatherstripping each fall and spring, when temperature extremes make air leaks most noticeable and damaging.
Best Time of Year to Reseal
What You'll Need Before You Start
Gathering materials beforehand makes the job go smoothly. For most exterior window and door sealing projects, the list is short and inexpensive.
What you will need
Caulk gun
Provides controlled, even pressure to dispense caulk at a consistent bead size.
Utility knife or oscillating multi-tool
Used to cut away and remove old, dried, or cracked caulk cleanly without damaging the frame.
Silicone or paintable latex caulk (exterior grade)
Seals stationary gaps between window and door frames and adjacent surfaces.
Weatherstripping (foam tape, V-strip, or door sweep)
Seals the moving joint between a door or operable window sash and its frame.
Painter's tape
Creates clean caulk lines along frame edges, reducing cleanup time.
Stiff-bristle brush and isopropyl alcohol or mild detergent
Cleans the surface thoroughly so caulk and adhesive weatherstripping bond correctly.
How to Inspect, Remove, and Reseal
Work through each step methodically. Rushing surface prep is the most common reason new caulk fails prematurely - and a reason homeowners sometimes wrongly conclude the product was defective.
Locate the leaks
On a windy day, hold the back of your hand near window and door edges, electrical outlets on exterior walls, and where pipes or cables enter the home. A lit incense stick moved slowly along frames will also reveal drafts - the smoke will waver or blow inward where air is infiltrating. Mark any problem areas with painter's tape so you can address them systematically.
Remove old caulk completely
Use a utility knife or oscillating tool to score and lift the existing caulk bead. Pull it away in strips where possible. Use a plastic scraper to dislodge stubborn pieces from the joint. Avoid gouging the wood or frame material - take your time here. Skipping this step and applying new caulk over old almost always results in poor adhesion and early failure.
Clean and dry the surface
Wipe the joint with a stiff brush to remove dust and caulk residue, then clean with a mild detergent or isopropyl alcohol. Allow the surface to dry completely - at least 30 minutes in warm weather, longer in cooler or humid conditions. Caulk will not bond to a damp or dusty surface, no matter the product quality.
Apply fresh caulk to stationary gaps
Load the tube into the caulk gun and cut the nozzle at a 45-degree angle to match the width of the gap - typically ¼ inch or less. Apply steady, even pressure to the gun's trigger as you draw a continuous bead along the joint in one smooth motion. Work from one end to the other without stopping mid-gap. Once applied, use a wet fingertip or a caulk smoothing tool to press the bead into the joint and create a concave profile that sheds water effectively.
Replace weatherstripping on doors and operable windows
Remove the old weatherstripping by peeling adhesive-backed foam or pulling stapled or tacked V-strip away from the stop. Clean the channel or surface thoroughly. Cut new weatherstripping to length - measure twice, cut once. For adhesive-backed foam tape, press firmly into the door stop so the door compresses the foam slightly when closed. For V-strip (tension seal), fold it open slightly and tack or staple at the top before pressing the rest into the channel. For the door bottom, install a door sweep flush with the threshold so it seals without dragging heavily against the floor.
Allow curing time before exposure
Most latex caulks are paintable within an hour but require 24 hours to fully cure. Silicone caulks typically need 24-48 hours of cure time and should not be painted unless specifically labeled as paintable. Keep the area dry during the curing window. Avoid closing windows tightly onto fresh weatherstripping adhesive for at least a few hours to allow it to set.
Don't Seal Weep Holes in Window Frames
Knowing When to Repair Versus Replace
In most cases, removing old caulk and applying a fresh bead is all that's needed. But sometimes the gap or damage points to a deeper problem. If you find rot in the window frame or door jamb beneath deteriorating caulk, sealant alone won't fix the issue. Similarly, if weatherstripping is failing on a door that no longer sits squarely in its frame, the hinge or threshold may need adjustment first. Our guide on when to repair vs. replace home systems offers a practical framework for making that call on windows and doors.
Also keep in mind that air sealing works best as part of a layered approach to energy efficiency. If your home is losing heat through gaps around windows while also losing it through an under-insulated attic, addressing only one layer limits your results. For context on how these systems interact, see our article on why skimping on insulation costs homeowners long-term.
Finally, don't overlook the common myths that lead homeowners into costly mistakes - one of them is assuming that newer or recently remodeled homes don't need routine sealing checks. All homes settle and experience material expansion and contraction over time, regardless of age.
The content on this site is provided for informational purposes only and should not be considered a substitute for professional advice. While we strive to provide accurate and up-to-date information, we make no guarantees regarding its completeness or accuracy. Always consult a qualified professional for advice specific to your circumstances before making any decisions.