
Composting at Home Without the Smell or the Guesswork

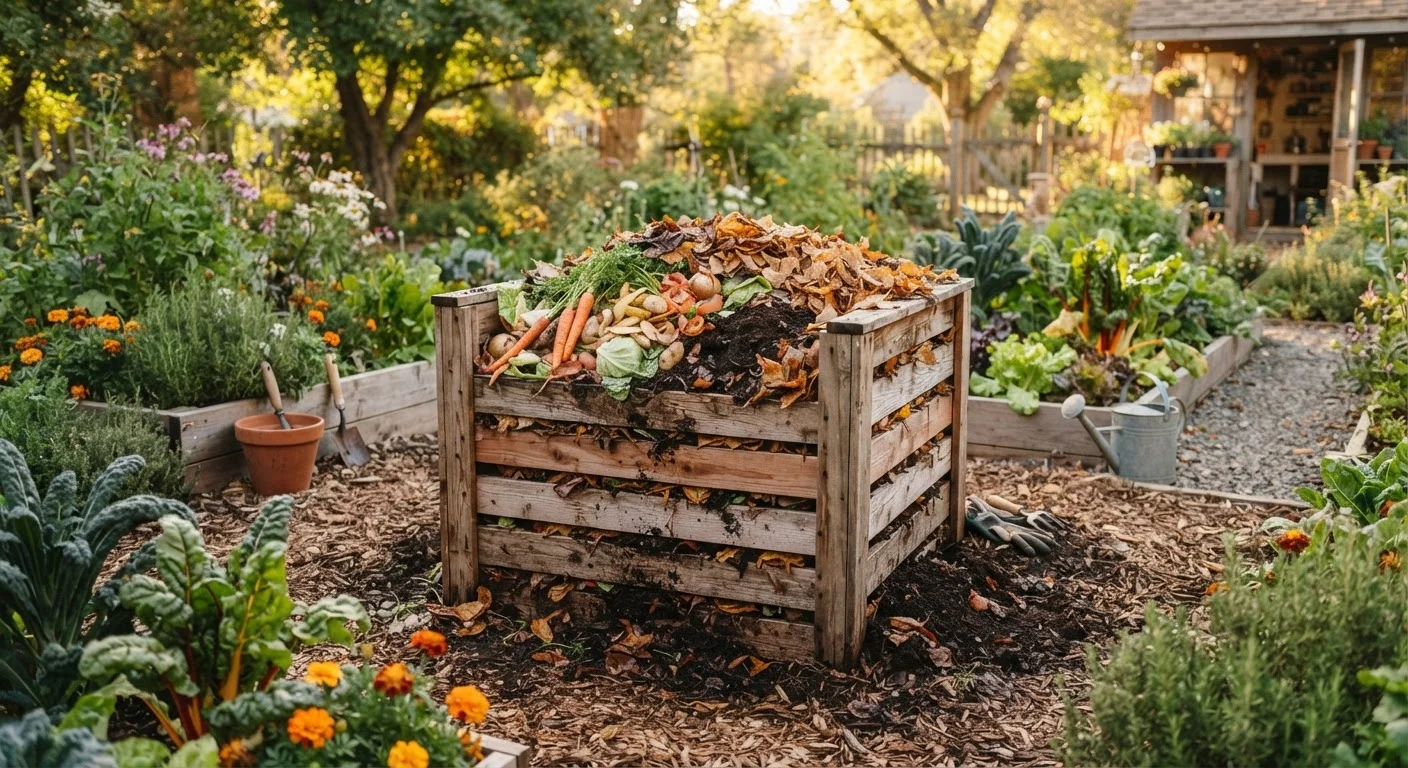
Photo: AskSpecialist.net editorial
Key Takeaways
- Balancing carbon-rich 'browns' and nitrogen-rich 'greens' is the single most important factor in odor-free composting.
- Three composting methods - open pile, bin, and vermicomposting - suit different yard sizes and lifestyles.
- Moisture and airflow are the two levers you control most often to keep a pile active and smell-free.
- Common problems like bad odors or a stalled pile each have simple, fixable causes.
- Finished compost is ready when it looks and smells like dark, crumbly soil - typically within 2-6 months.
Why Composting Deserves a Place in Your Yard Routine
Composting turns the organic waste your household generates - vegetable trimmings, coffee grounds, fallen leaves, grass clippings - into something genuinely useful: a dark, crumbly soil amendment that improves drainage in clay soils, adds water retention to sandy ones, and feeds soil biology without the need for synthetic fertilizers. For gardeners growing vegetables or tending flower beds, homemade compost is one of the most impactful inputs you can apply.
Beyond garden performance, composting reduces the volume of material going to landfill. Organic matter in landfills decomposes without oxygen and produces methane; in your backyard pile, that same material breaks down aerobically into something your lawn and garden will actually use. It's a practical habit worth building into your regular yard care - and it fits naturally alongside a home maintenance routine that treats the yard as carefully as the house.
Compost bin or designated pile area
Contains the composting materials, retains moisture and heat, and keeps the pile tidy.
Garden fork or compost turner
Used to turn and aerate the pile, which speeds decomposition and prevents odors.
Kitchen countertop collection container
Temporarily stores vegetable scraps indoors before you transfer them to the outdoor pile.
Garden hose or watering can
Adds moisture when the pile becomes too dry to decompose actively.
Thermometer (compost or soil type)
Measures internal pile temperature to confirm active decomposition is occurring.
Worm bin (for vermicomposting)
Houses red wiggler worms that break down kitchen scraps into rich worm castings.
Step-by-Step: Setting Up and Running Your Compost System
Follow the steps below to get a home compost system up and running. The process scales to any yard size, and most problems have simple fixes once you understand what drives decomposition.
What you will need
Choose your composting method
Three practical methods work well for most American households:
- Open pile: The simplest approach - just designate a corner of your yard. Best for larger properties with plenty of yard debris. Slower but requires no investment.
- Compost bin: A contained structure (plastic tumbler or wooden box) that retains heat and moisture better than an open pile. Faster results and neater appearance make this the most popular choice for suburban yards.
- Vermicomposting (worm bin): Uses red wiggler worms indoors or in a shaded outdoor spot to process kitchen scraps. Ideal for apartments, small yards, or anyone who generates mostly food waste with little yard debris.
Match your method to your space, lifestyle, and the volume of material you generate. If you're putting together a broader yard care routine, the spring yard cleanup checklist can help you identify how much organic material your property produces each season.
Set up your pile or bin
Place an outdoor bin or pile in a spot with partial shade - full sun dries the pile out too quickly, while deep shade slows decomposition. Ensure good drainage underneath; direct soil contact is fine and actually helps beneficial organisms migrate up into the pile. Aim for a minimum pile size of roughly 3 feet by 3 feet by 3 feet, which generates enough internal heat to break materials down efficiently.
For a worm bin, use a ventilated container filled with damp shredded newspaper bedding. Keep it between 55°F and 77°F - a garage, basement, or shaded porch usually works well.
Layer your browns and greens correctly
Compost requires a balance of carbon-rich 'browns' and nitrogen-rich 'greens.' A rough guideline is 2-3 parts browns to 1 part greens by volume.
- Browns (carbon): Dry leaves, cardboard torn into pieces, straw, paper bags, wood chips, paper towels
- Greens (nitrogen): Fruit and vegetable scraps, coffee grounds and filters, fresh grass clippings, plant trimmings
Start with a 4-6 inch layer of coarse browns (like small sticks or wood chips) at the bottom to allow airflow. Alternate layers as you add material rather than dumping large amounts of a single type all at once. This layering prevents matting and keeps the pile breathing.
Maintain the right moisture level
Your pile should feel about as moist as a wrung-out sponge - damp throughout but not dripping. Squeeze a handful: if a few drops of water fall, moisture is ideal. If it's bone dry, decomposition stalls. If water streams out freely, the pile will go anaerobic and start to smell.
Add water with a hose during dry spells, and add dry browns if the pile becomes waterlogged after heavy rain. Covering the top of the pile loosely with a tarp or a bin lid during prolonged rain helps regulate moisture without sealing out all airflow.
Turn the pile regularly
Turning introduces oxygen, which fuels the aerobic microbes doing the decomposition work. With regular turning, a well-balanced pile can be ready in as little as 2 months. Without turning, expect 6 months to a year.
Turn the pile every 1-2 weeks using a garden fork, moving material from the outer edges to the hot center. If you're using a tumbler bin, rotate it every few days. With a worm bin, turning isn't necessary - just harvest castings from the bottom every few months.
Troubleshoot problems as they come up
Most compost problems fall into one of a few categories:
| Problem | Likely Cause | Fix |
|---|---|---|
| Rotten egg smell | Too wet, not enough air | Turn the pile and add dry browns |
| Ammonia smell | Too many greens | Add more browns and turn |
| Pile not heating up | Too dry, too small, or too many browns | Add water and greens; check pile size |
| Pests or rodents | Food scraps exposed or wrong materials added | Bury scraps in center; use a lidded bin |
Harvest and use your finished compost
Finished compost looks uniformly dark brown, crumbles easily, and smells like fresh earth - not like any of the original ingredients. If you can still identify carrot peels or eggshells, give it more time.
To harvest: stop adding new material, let the pile finish for 2-4 more weeks, then screen out any large unfinished pieces (toss them back in to start the next batch). Spread finished compost 1-2 inches deep over garden beds, mix it into potting soil, or use it as a lawn top-dressing. It's especially valuable when starting raised beds - see the raised bed gardening guide for how to incorporate it into your soil mix.
Never Compost These Materials
Speed Things Up With a Simple Trick
Avoid Treated Wood and Glossy Paper
Putting Your Compost to Work in the Garden
Once you have a reliable supply of finished compost, the ways to use it multiply quickly. Work 1-2 inches into vegetable bed soil before planting each season - your crops will root into a more biologically active growing medium. If you're growing food for the first time, the first vegetable garden guide walks through how soil preparation sets up the entire season.
In ornamental beds, compost used as a top dressing feeds the soil gradually through rain and irrigation without disturbing plant roots. Gardeners focused on supporting local wildlife will find that healthier, more biologically diverse soil also supports the plants that pollinators depend on - a connection explored in the guide to attracting pollinators.
Composting is a slow-build habit: the first batch takes patience, but once your system is running, you'll have a steady supply of one of the most versatile materials available to a home gardener - produced entirely from waste you were already generating.
The content on this site is provided for informational purposes only and should not be considered a substitute for professional advice. While we strive to provide accurate and up-to-date information, we make no guarantees regarding its completeness or accuracy. Always consult a qualified professional for advice specific to your circumstances before making any decisions.